 At our house, we try to teach our sons about being grateful. Grateful for evenings spent at the park, time with grandparents, and yes, gifts too. So after celebrating my son’s third birthday, I got to thinking, “How can my son give thanks?”. Instead of Mommy and Daddy doing all the thanking, I asked my son to make his own thank you cards! I kept it nice and simple. I bit of paper, a little paint, and no overthinking!
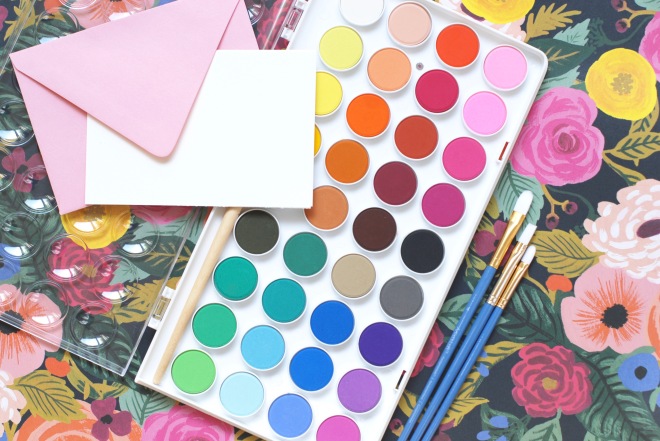
What You’ll Need:
White Paper | Watercolour paper or card stock works best.
Envelopes | I always have a supply of coloured envelopes on hand from Paper Source
Watercolour Paints and Paint Brushes | Nothing fancy here!
Getting Started:
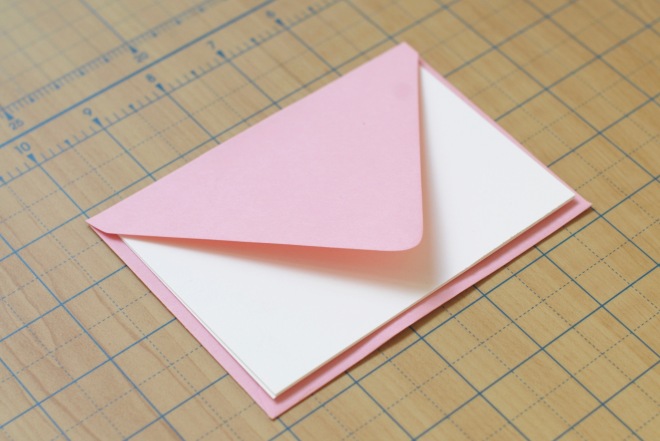 In terms for prep, this tabletop activity keeps it nice and simple! Start by cutting down your paper to fit your envelopes. I use a paper cutter, but scissors will certainly do the trick! Set out a large jar of water, the brushes and open up those water colour paints!
What To Do:
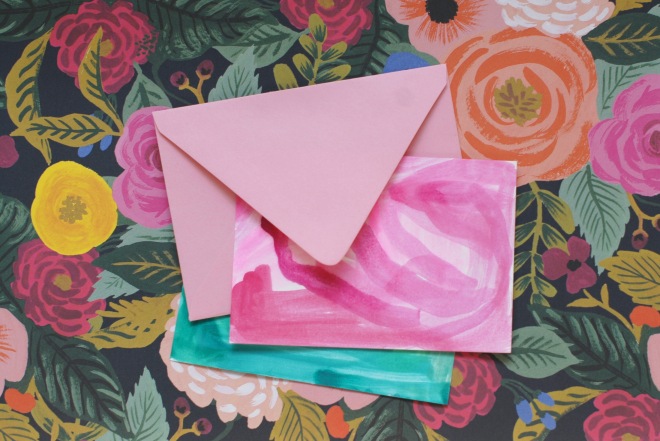
A great way to start any activity, is to talk about purpose. Have a conversation about being grateful and how to say thank you to others! The more involved you can get your children/students in any activity, the better. Next, talk about parameters. We decided to go monochromatic. My son started with green, and then moved on to pink, blue, purple and orange. This worked out well because our watercolour set had so many beautiful hues. Aside from that, I just asked him to cover the entire surface of the card. Keep it simple if children are making several cards. You don’t want them to lose interest in the activity. Don’t worry about the product! Scribbles and swirls look beautiful and will be adored by friends and family.
Tips:
Remember to refill you child’s water jar several times throughout the activity to keep the paint colour clean and crisp.
Want to know what to write on the card? Check back in a few days, for some great ideas!
